
AVAILABLE 24/7. SE HABLA ESPAÑOL DISPONIBLE 24/7. ¡EMPIEZA AHORA!

Cali Lemon Lawyers Logo

We Get You Paid Nosotros te pagamos

Fast & Easy 🍋 Rápido y fácil 🍋


Author: Cali Lemon Lawyers

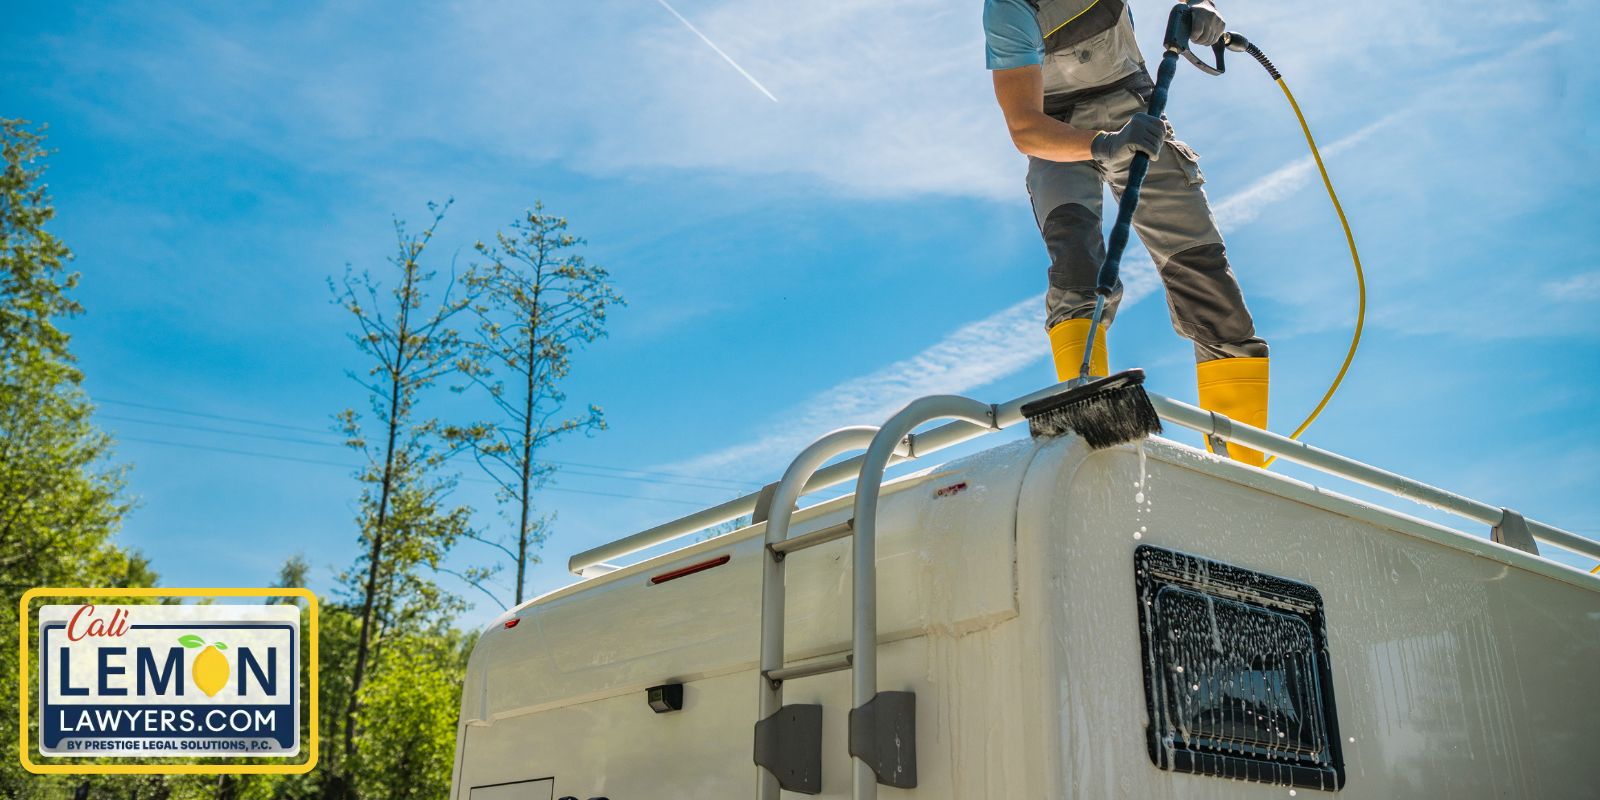
6 Most Common Forest River RV Slide Out Problems

If you’re a Forest River RV owner, you know that one of the most frustrating issues you can encounter is a malfunctioning slide out. Unfortunately, Forest River RV slide out problems are all too common and can put a damper on your travel plans. But don’t let these issues get in the way of your adventures!

In this article, we’ll take a closer look at all of the most common Forest River slide out problems and provide you with the best fixes for each one. From water damage to bad wiring, we’ve got you covered. Plus, we’ll discuss lemon laws and how they can help you get the compensation you deserve. So sit back, relax, and let us help you get your RV back on the road.

Irritated with your malfunctioning Forest River RV? The experienced RV lemon law attorneys at our firm work hard to get you the lemon law compensation you deserve. Reach out for a free consultation today!

What are Common Camper Slide Out Problems?

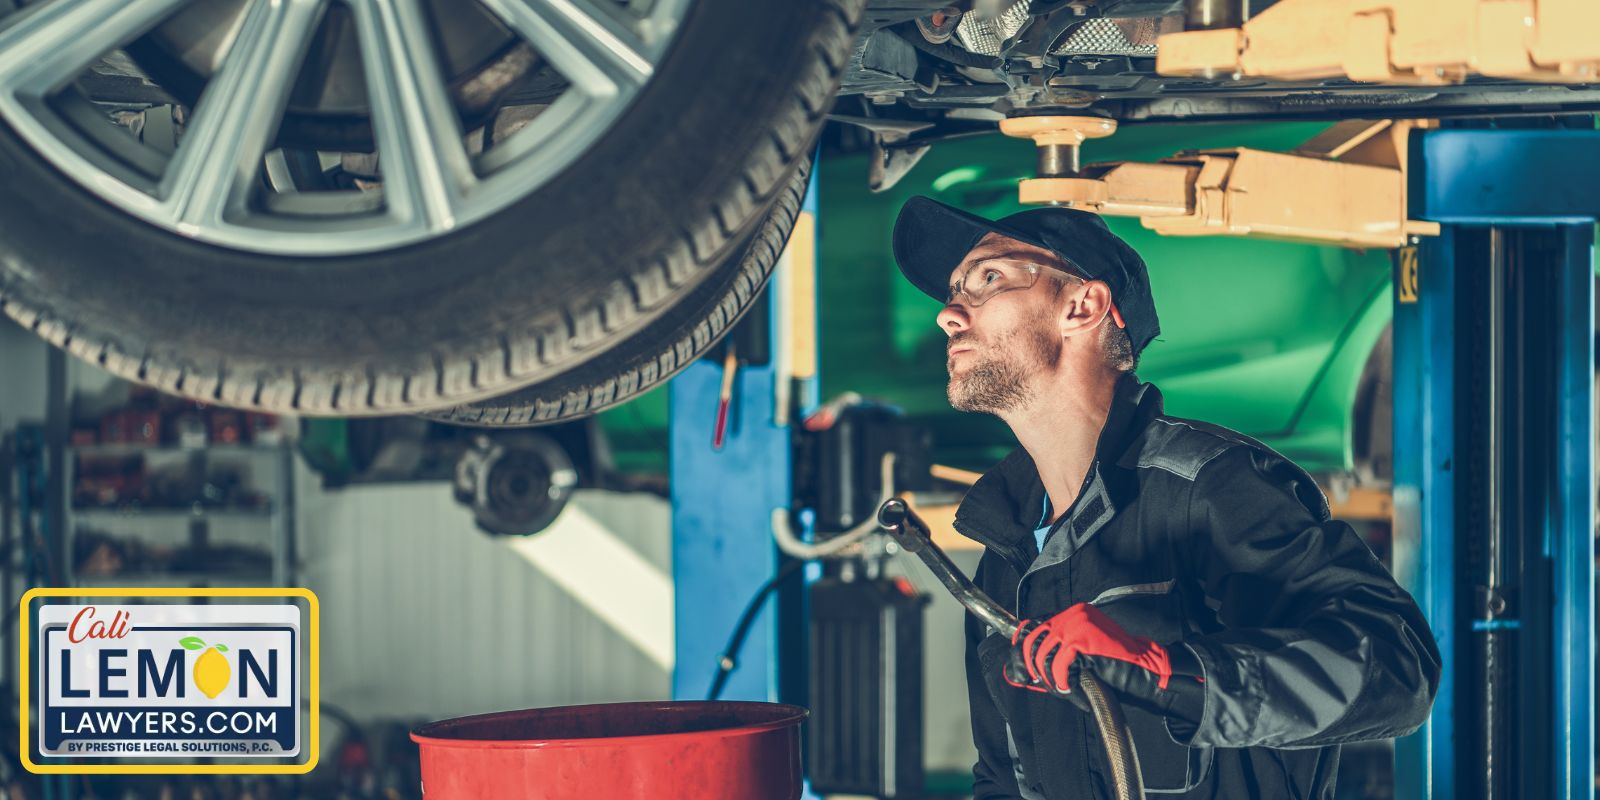
Forest River slideouts provide more room when you are parked in your RV. Yet, they are also a common frustration source when they don’t work. Among the most common issues with slide outs, owners continue to complain about electrical issues, lubrication problems and hydraulic leaks. Many of these problems are going to require an RV technician for diagnostics and repair.

Yet, understanding the RV slideouts and the problems often provides some peace of mind. Here are the six most common issues to know about.

1. Jammed Objects

Jammed Objects

As the slide comes in and out, dirt and contaminants can get trapped in the rails. If something jams itself in the rails, it can prevent the slide from coming in and out anymore.

Thankfully, this a jammed slide has an easy fix. You simply need to look in the rails to see what’s stuck and remove it.

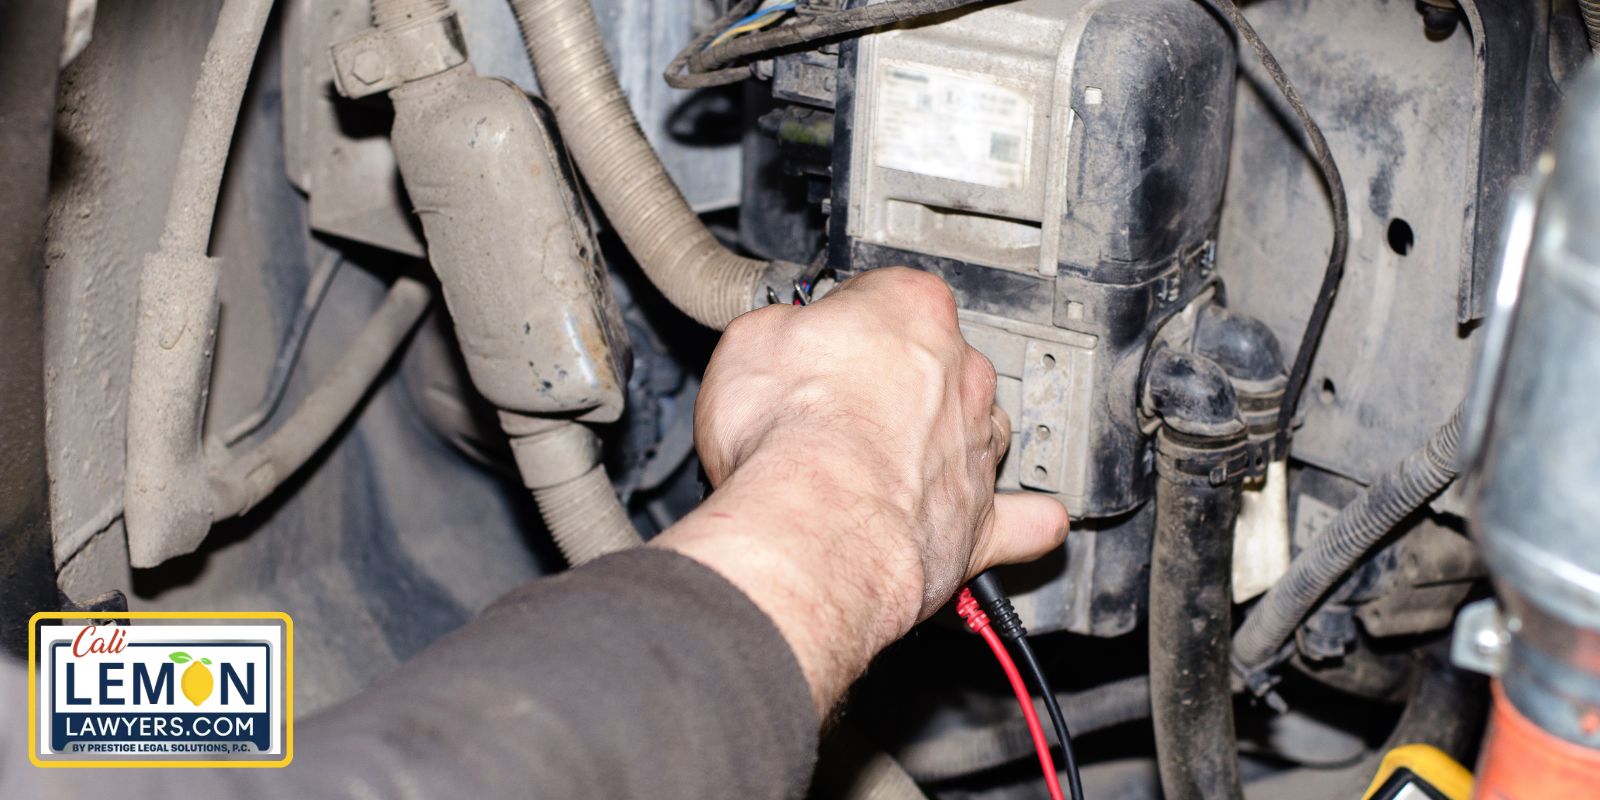
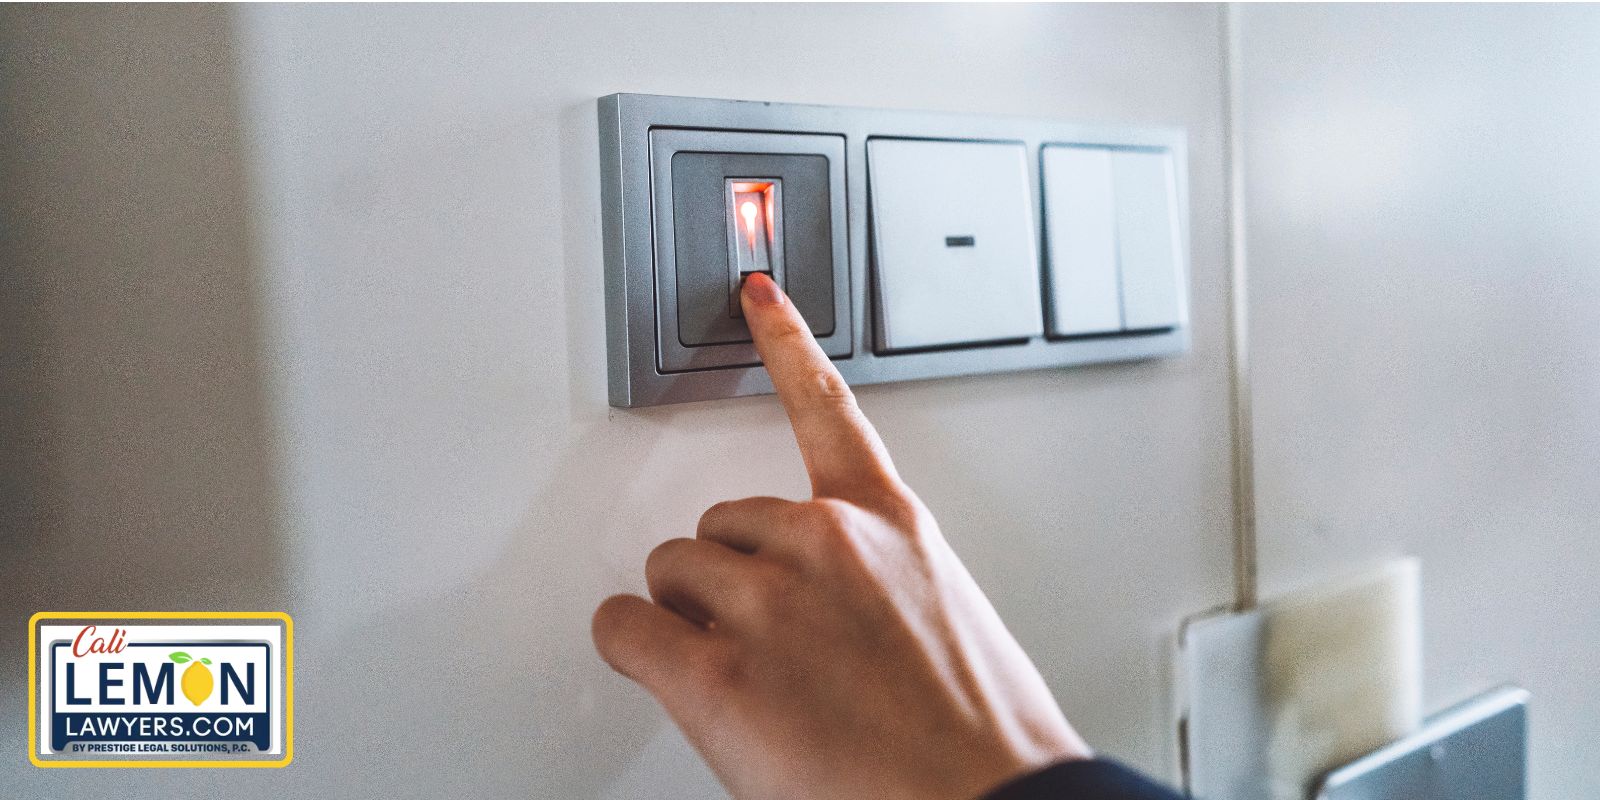
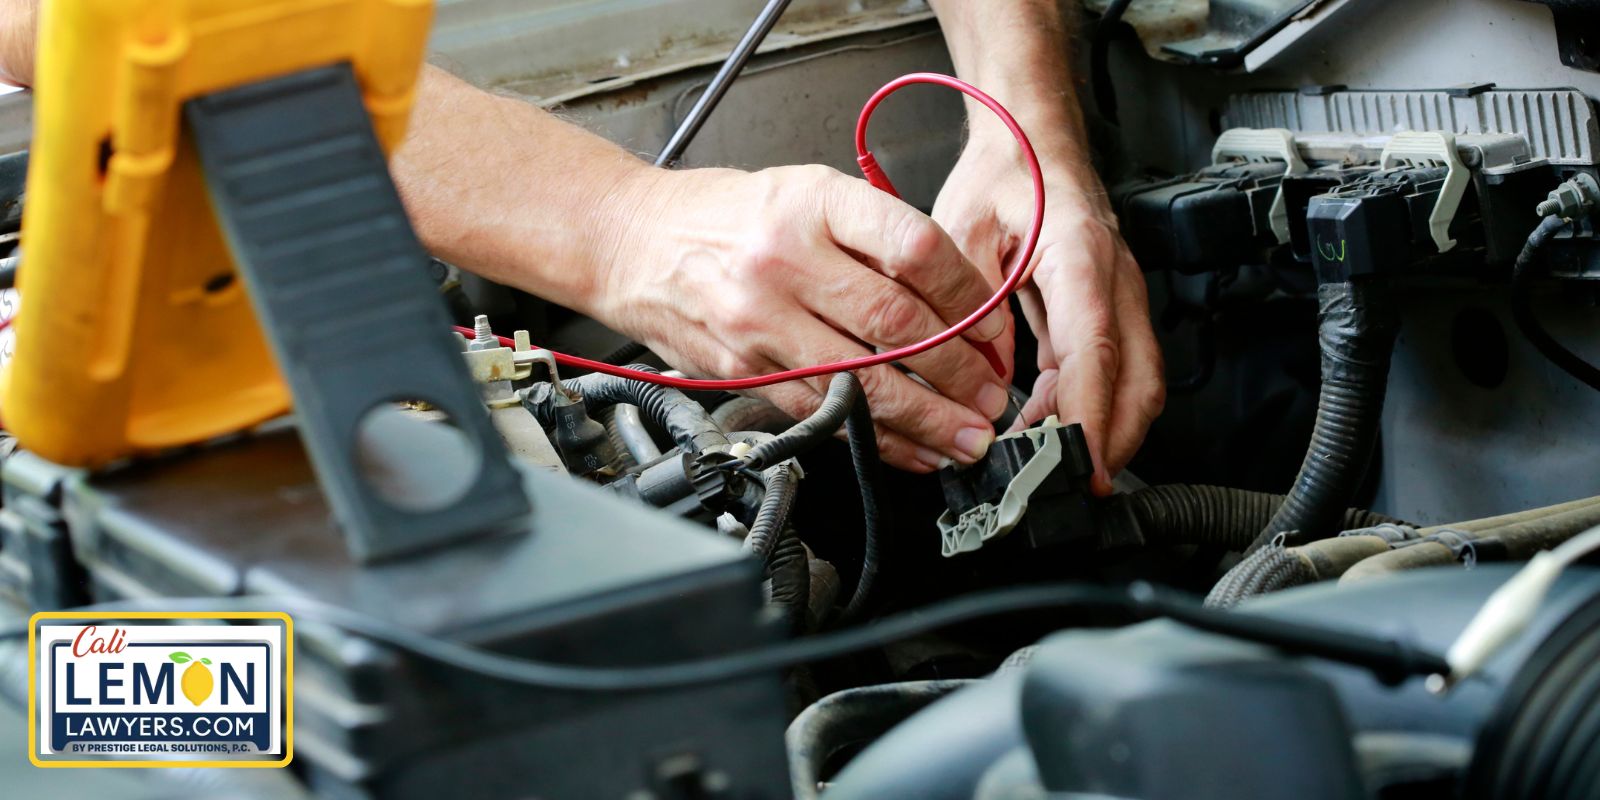
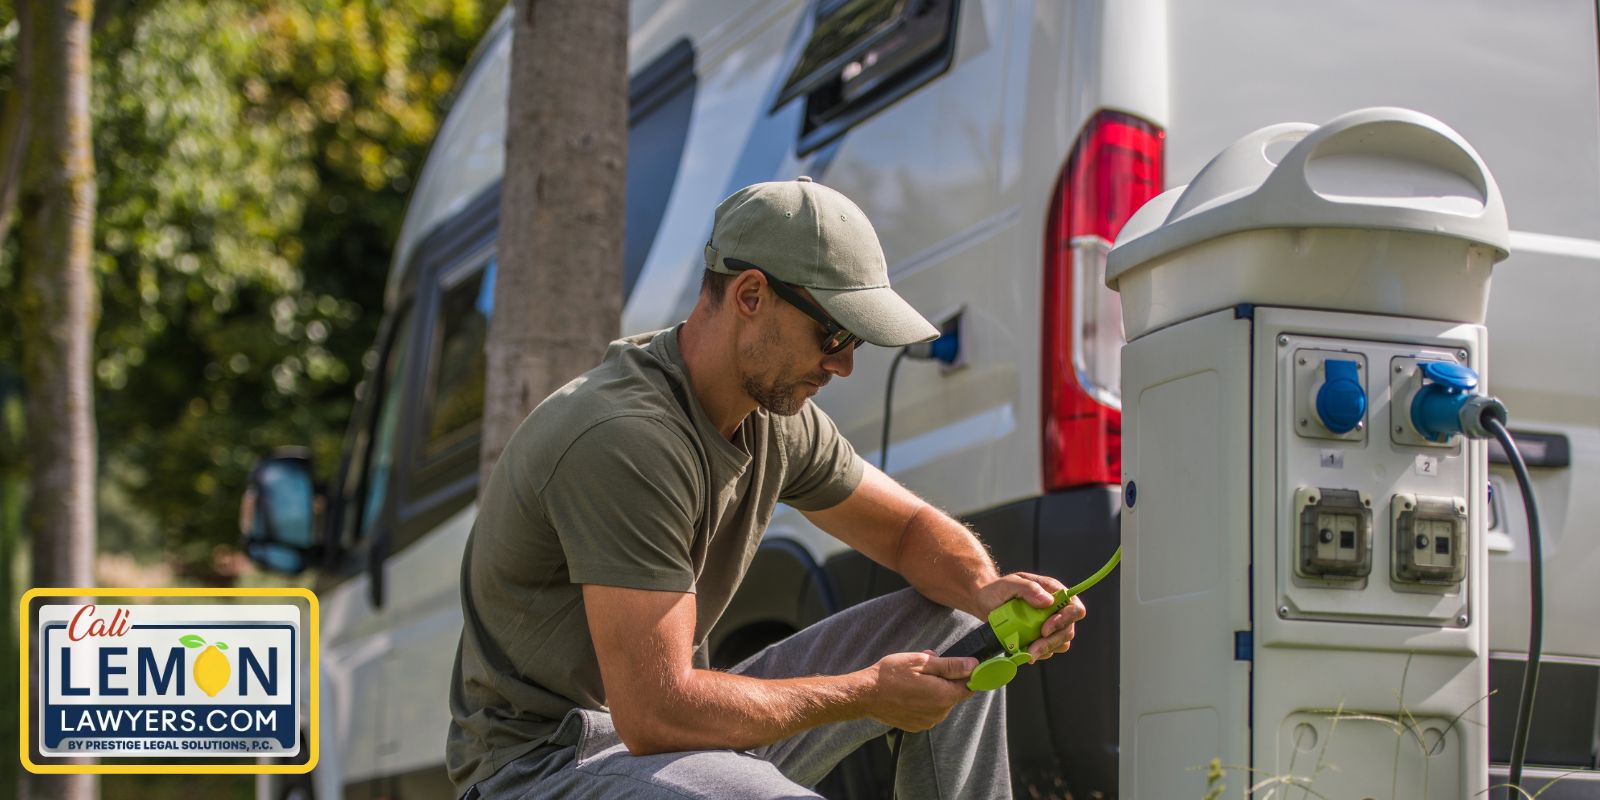
2. Electrical System Malfunction

Electrical System Malfunction

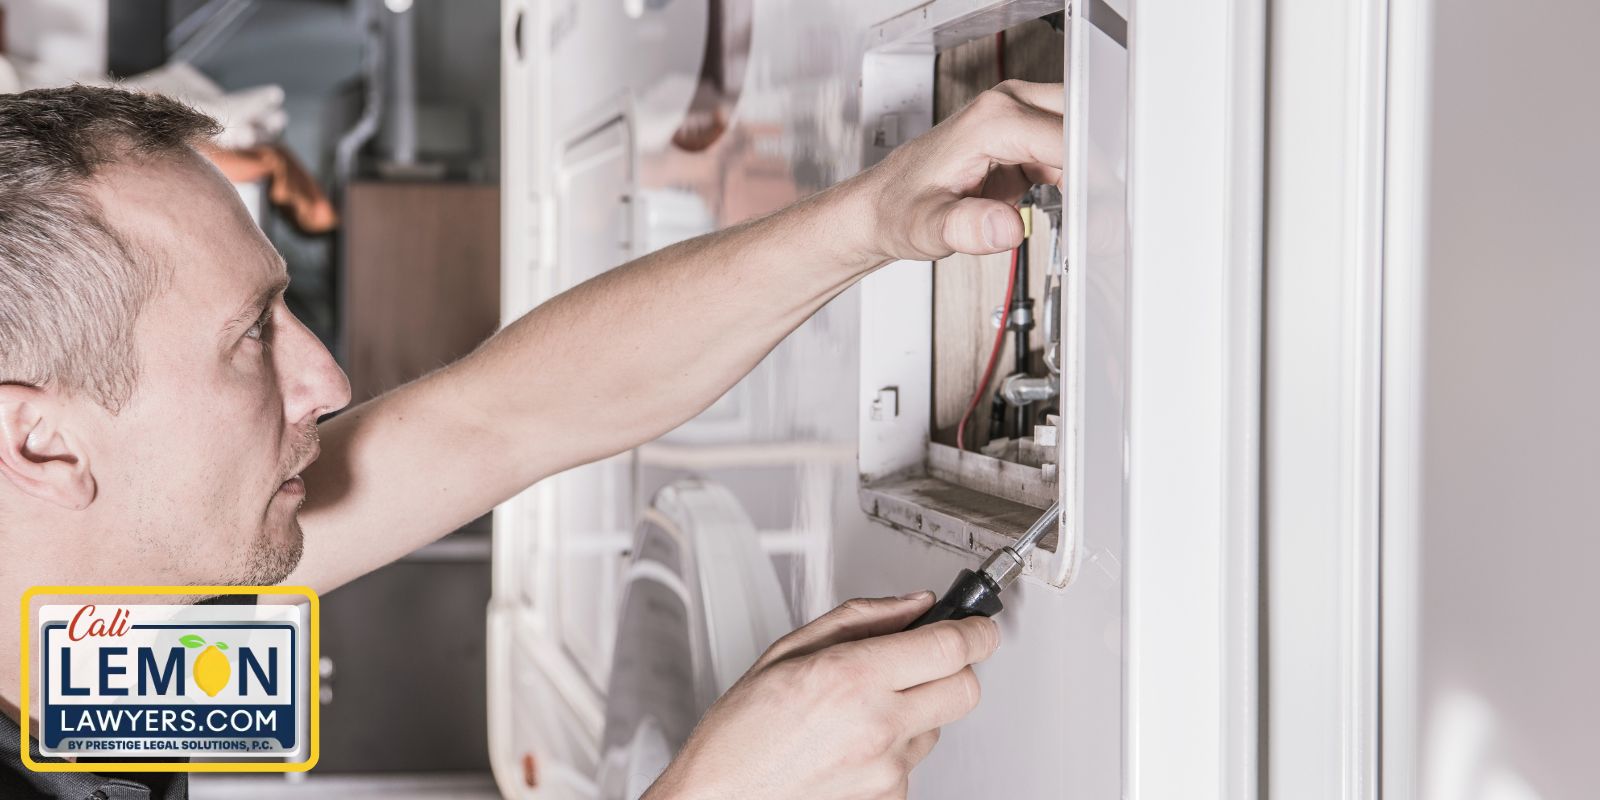
Today’s slide outs run on a sophisticated electrical system that’s prone to failure. This system begins at the switch. There’s a chance that the slide out switch itself has failed. You can test this by trying a switch to one of the other slide outs to see what happens. Make sure you are plugged into shore power, are running on a generator or the battery is fully charged.

Additionally, any part of the connectors or wiring may have become damaged. These parts need to be replaced to allow a solid electrical connection.

You may also be dealing with a blown fuse. Replace the blown fuse with a new one that has the same amperage rating.

Finally, you don’t want to overlook the importance of the RV battery. Test its charge with your multimeter to make sure it has 12 volts of power. If it doesn’t charge it up or replace it. Anything more complicated than these electrical matters should be dealt with by a professional RV mechanic.
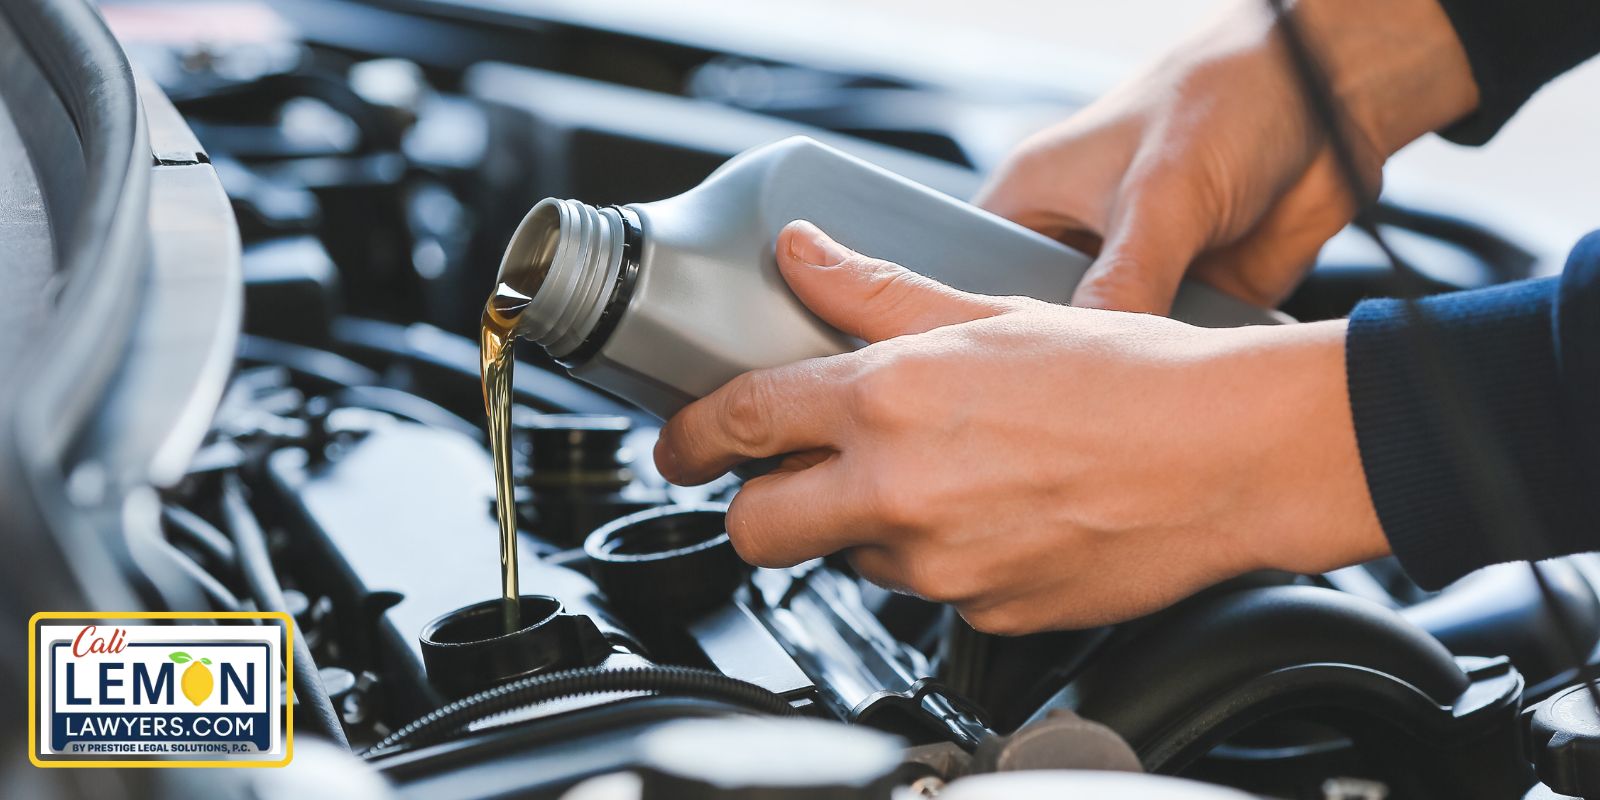
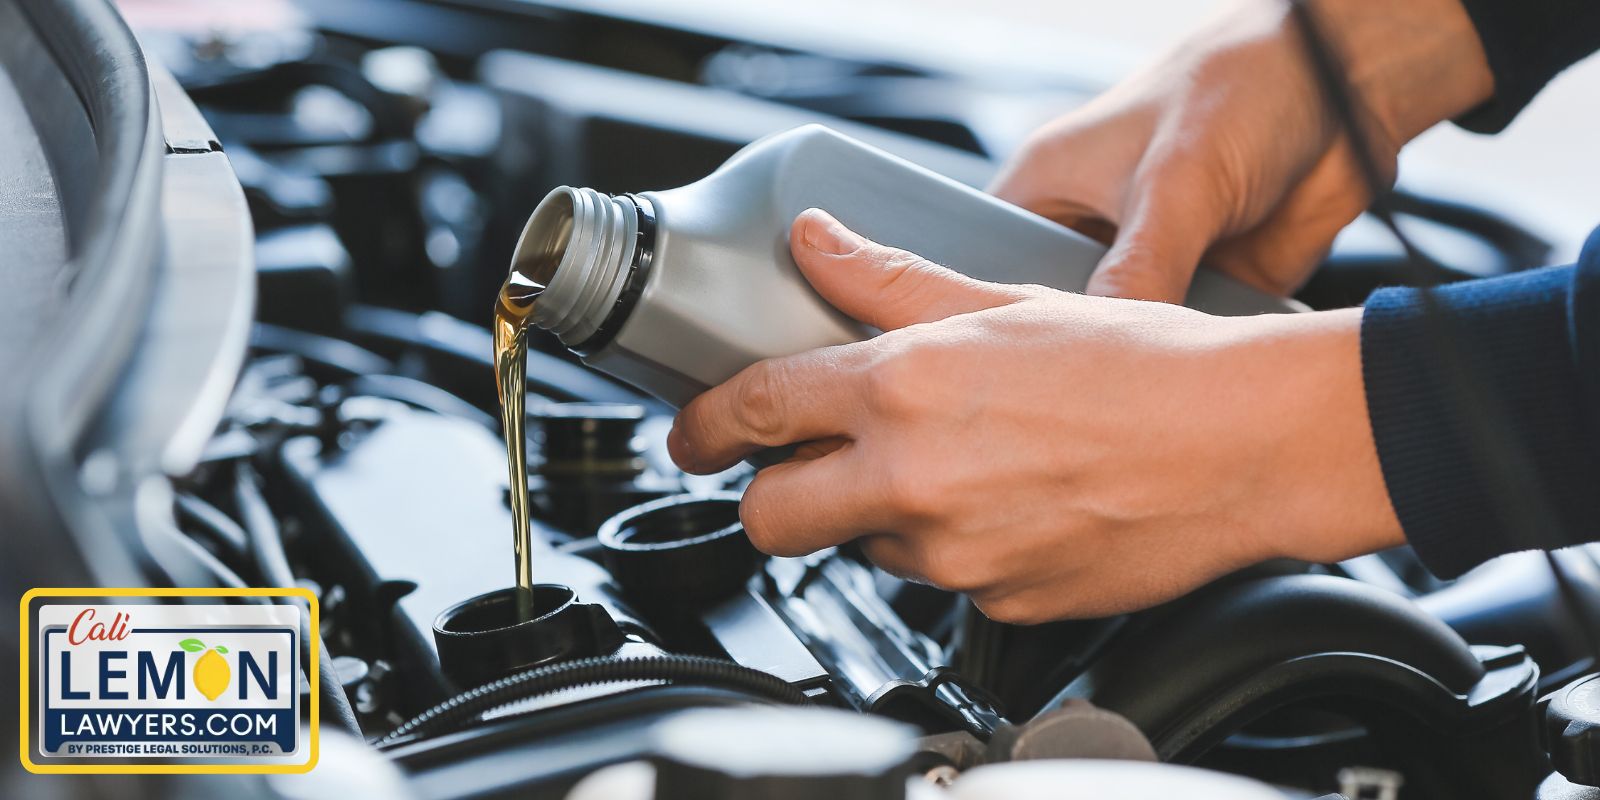
3. Hydraulic Leaks

Hydraulic Leaks

All hydraulic slides require fluid to run correctly. This fluid is the same that runs your Forest River automatic leveling system. If the fluid begins to leak, you may not have the pressure required to operate the slide.

Sometimes, the first sign of a leak is that the fluid level continues to get too low. Trace all of the lines to the slide out hydraulic system, starting at the pump and working to the slide. If you see fluid dripping from the hydraulic lines, you know what needs to be replaced.

Once you make the necessary slide out repairs, fill up the hydraulic fluid reservoir again.

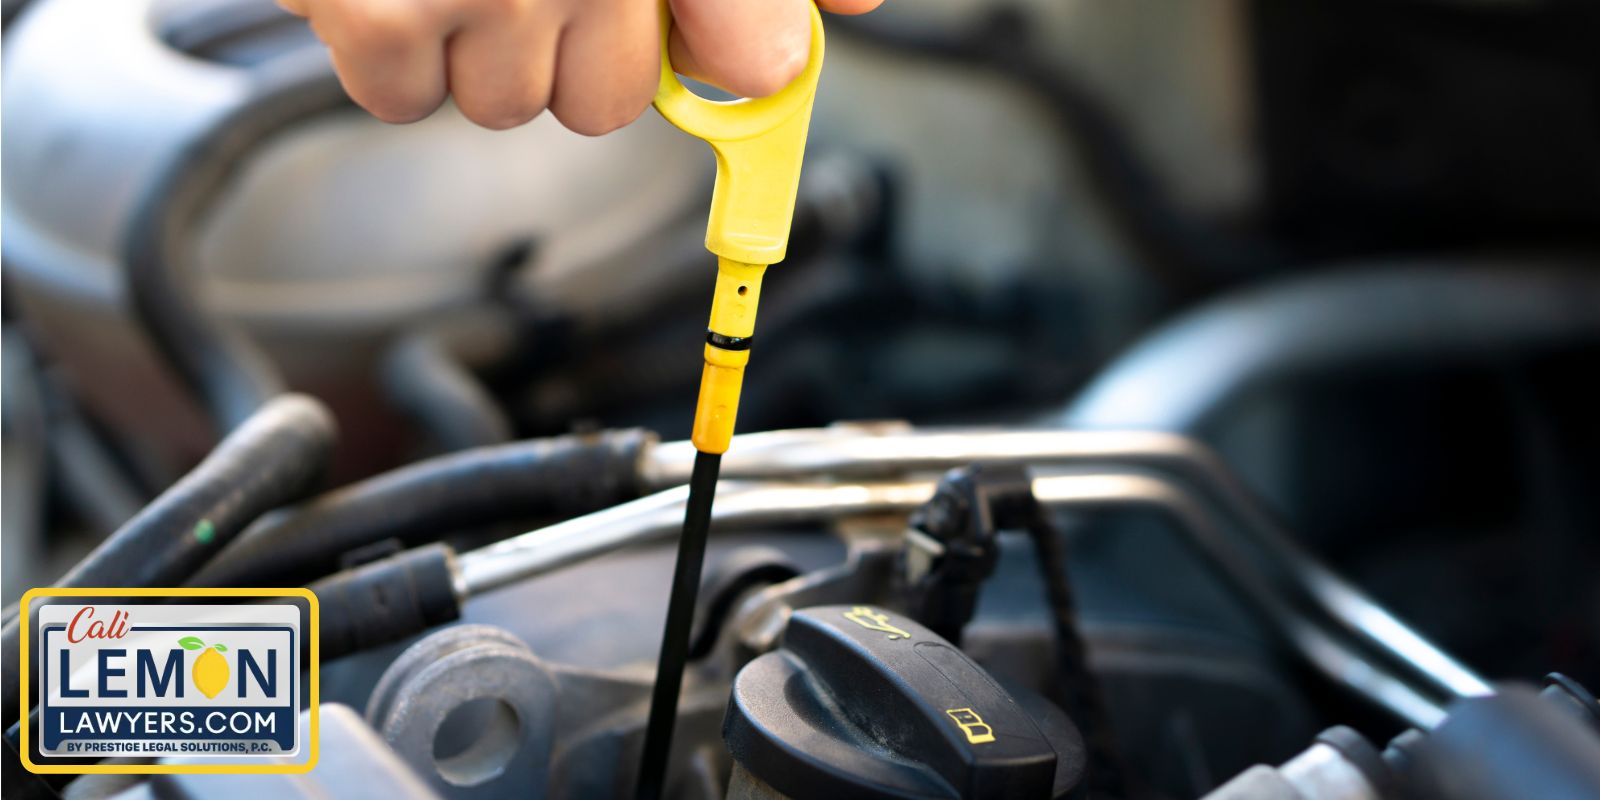
4. Bad Hydraulic Pump

Bad Hydraulic Pump

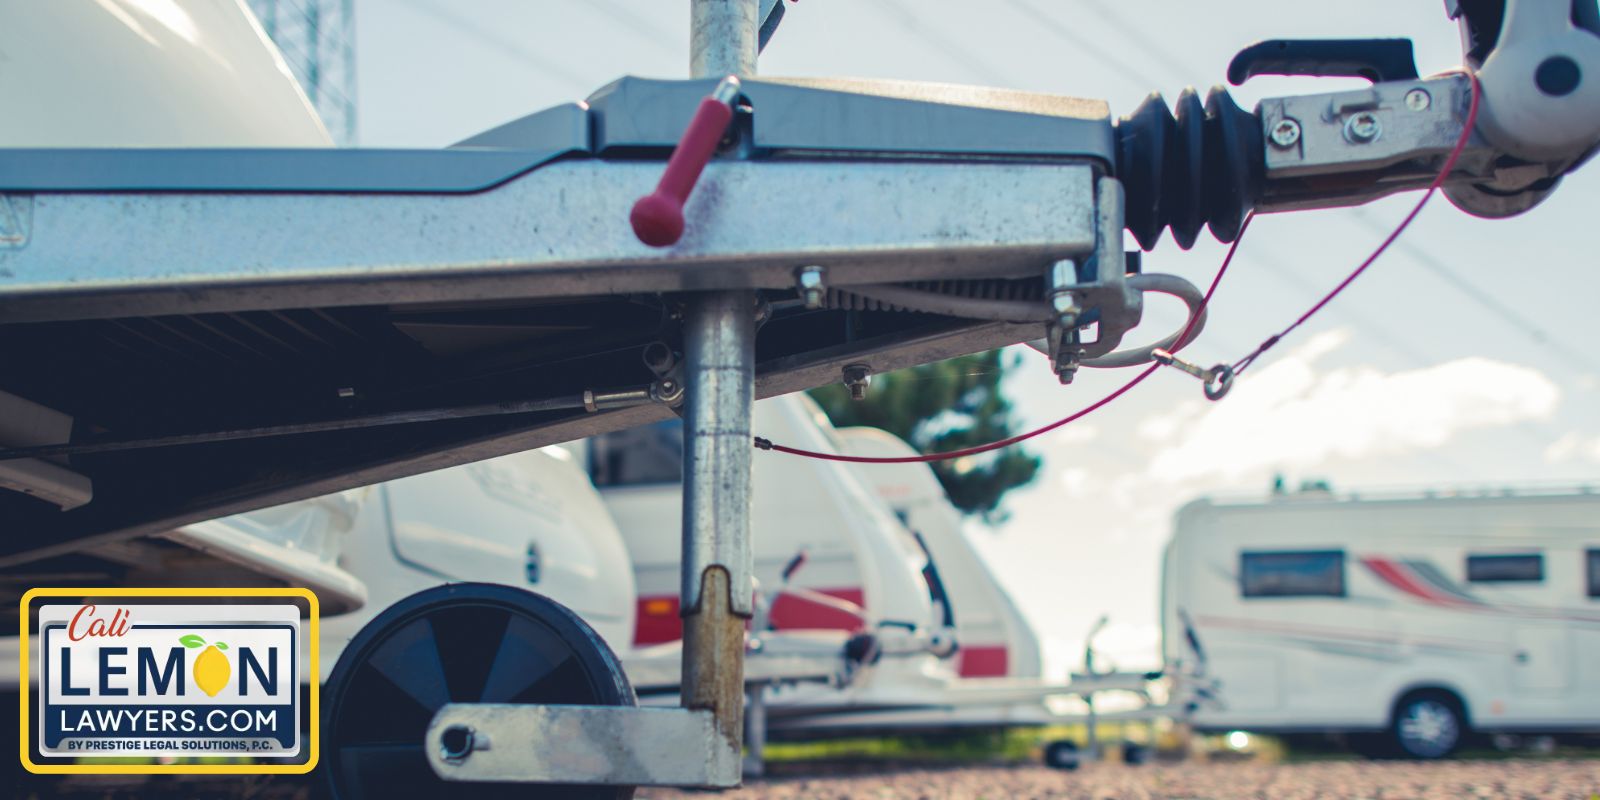
You already know that the Forest River RV slide uses a hydraulic system, but did you know that the pump can go bad? The pump is needed to retract and extend the slide. It is also needed for the leveling legs.

Here are a few diagnostic steps for the pump.

  1. Locate the RV pump. You can find its location by looking in the RV owner’s manual.
  2. Measure the voltage going to the pump to ensure it has enough power.

If the pump has enough voltage, the pump may need to be replaced.

5. Need for Lubrication

need for lubrication

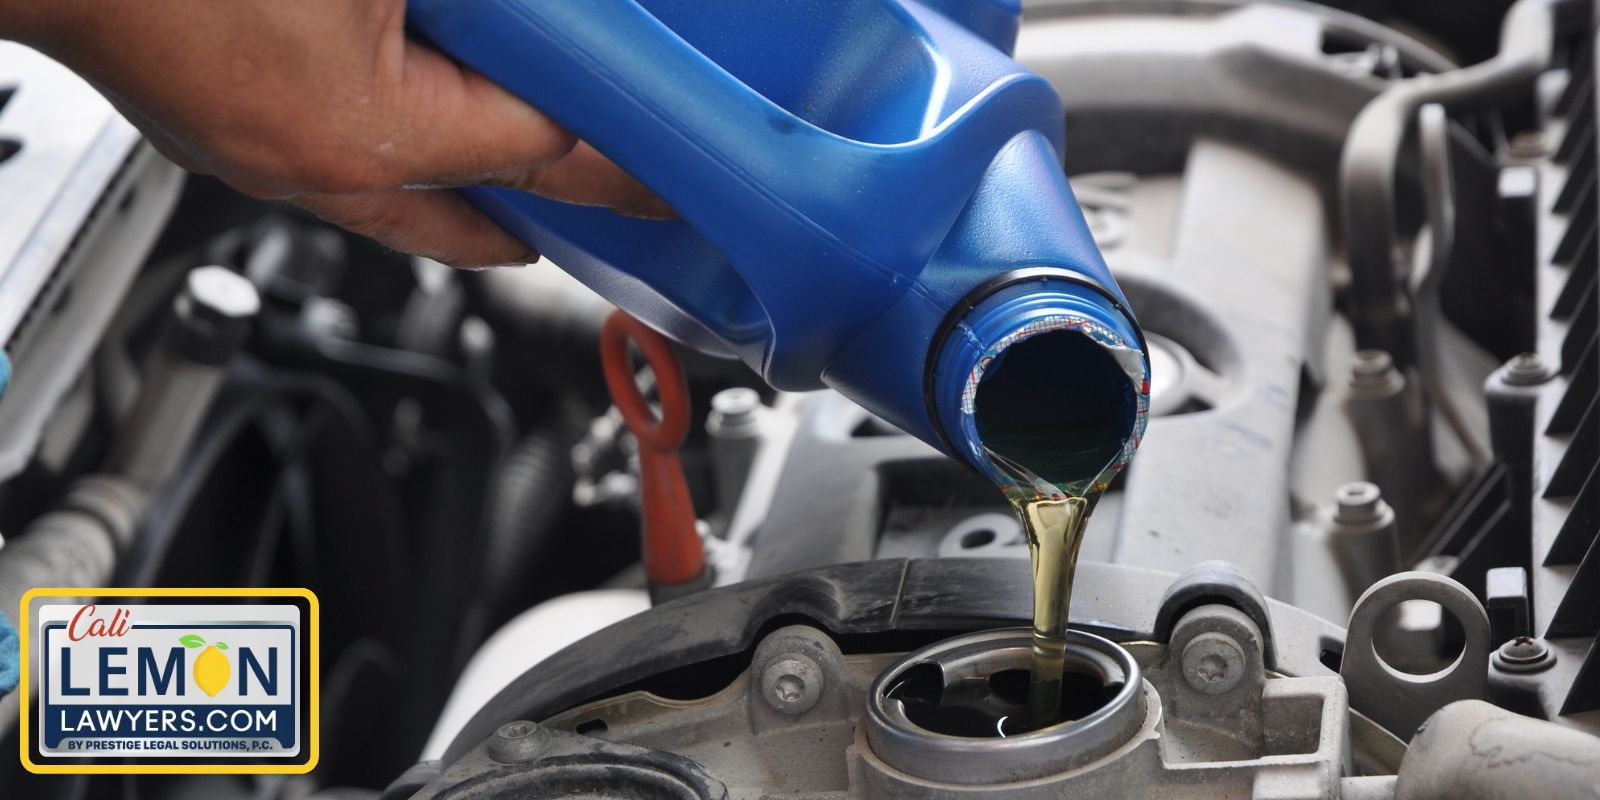
For the Forest River RV slides to run, there must be enough lubrication. This lubrication helps to keep everything operating smoothly. Yet, the lubrication can wear out over time, which hinders the slide out.

Use some WD-40 in the sticking areas. With the right amount of lubrication, the moving parts are going to run smoothly again. During this process, don’t ever force the slide outs to move or you can cause rail damage.
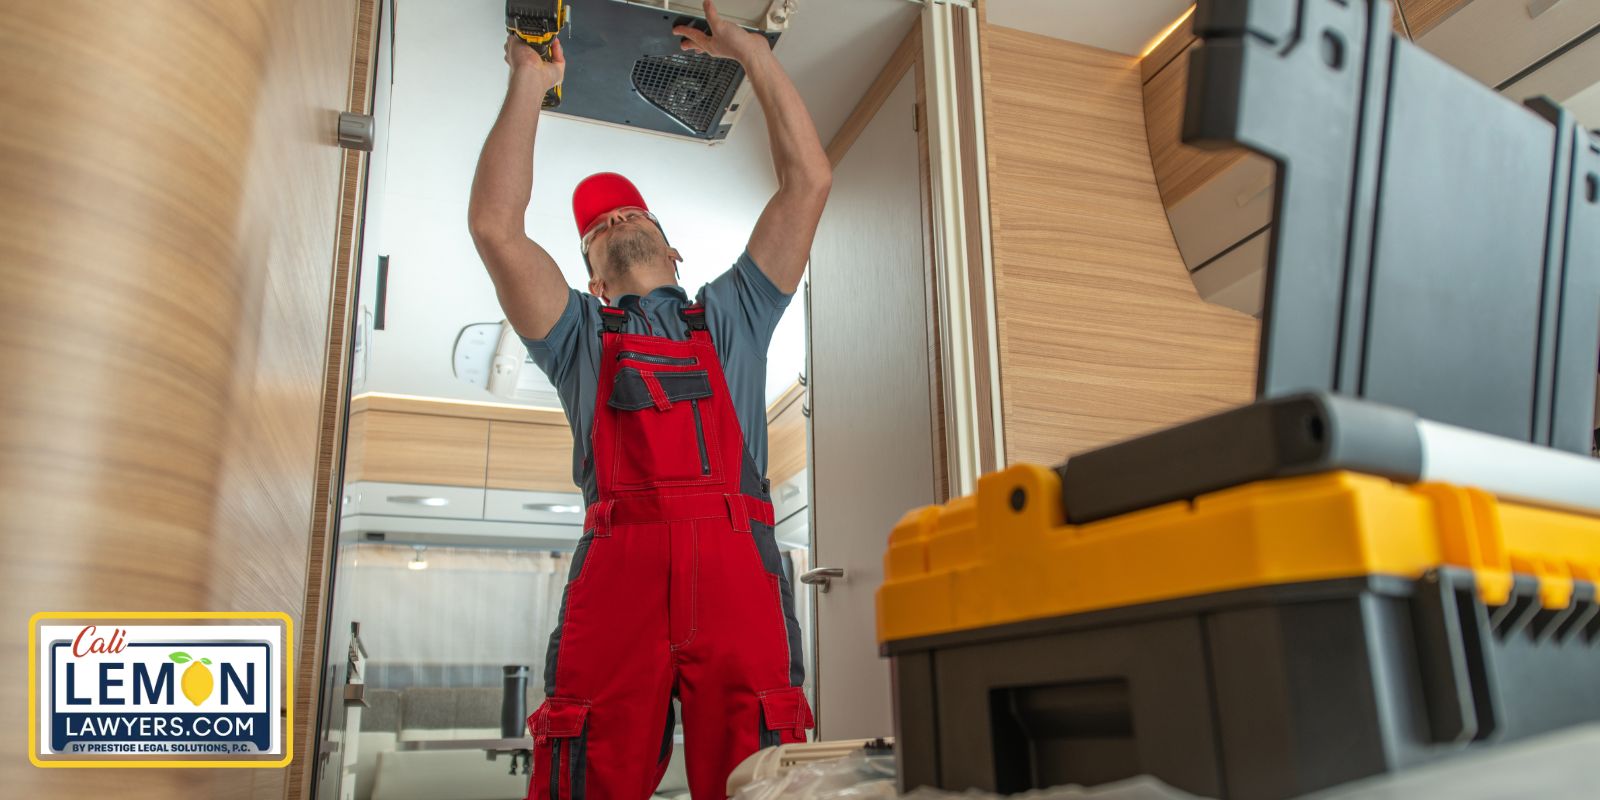
6. Failing Motor

Failing Motor

The more complicated issue could be if the slide motors fail. You can get the location of the electric motors by looking in the manual. You need to check all of the wiring and connectors to the motor. If you see anything damaged, it needs to be replaced.

Your multimeter is the tool needed for checking the voltage output on the motor as well. Depending on what type of motor is in your RV, the voltage requirements could be different. Replace the motor if there’s power going to it, but it isn’t operating the slides.

How Do I Reset My Forest River RV Slide Out?

In your service manual, you will find the procedures for resetting the Forest River slide out mechanism. If you don’t have the service manual, perform an online search that includes the model name and year. You can find a lot of information in the Forest River forums.

Most resets involve both the slide controllers and the motor. After you reset these features, the slide should work normally once again.

How Do You Manually Open the Forest River Slide Out?

Putting the Forest River slide mechanism out requires the same steps as bringing it in, but in backward order. If you know how to manually retract a bedroom slide, you can put it out as well. Again, it’s important to reference the information in the owner’s manual to avoid causing more damage.

We also suggest following these tips if you want the slide in an out position.

  1. Look for the slide out motor. Typically, it’s located directly below the room that you want to extend.
  2. Unscrew the brake assembly that’s connected to the motor.
  3. With an extension applied to the crank handle, open the slide. This shouldn’t require a lot of force. However, if it doesn’t have a crank handle, you can default to a socket and ratchet or a standard wrench instead.
  4. Continue operating the crank until the room is fully extended.

Once you have the room where it needs to go, it’s time to attach the brake assembly to the electric motor. By doing this, you keep the slide from moving unexpectedly.

What Slide Out System Does Forest River Use?

Forest River has used a variety of slide out systems over the years. One that is found in many models is the Lippert Hydraulic Through Frame Slide-Out System. It’s meant for extending and retracting slide outs with ease.

This Lippert slide out controller is a rack-and-pinion guide system that uses a hydraulic cylinder to move the assembly. There’s also a power unit that drives the cylinder rod forward and backward as the slide moves.

Forest River RV Slide Outs Lemon Law

How will you know if you are using a Lemon RV? Many of the same lemon laws for RVs mimic those of automobiles. If you are using a recreational vehicle that meets these criteria, you want to talk to us about it being a lemon.

  1. The Forest River RV is under its factory warranty term.
  2. The problem or problems are keeping you from using the RV correctly. This issue may affect the value or the safe operation of the RV.
  3. The Forest River dealer hasn’t fixed the problem, even with multiple attempts. If you’ve worked with the dealer to get a resolution without success, you may be eligible.

Does your Forest River RV fit all of these aspects? If so, we want to talk to you. Let us provide you with lemon legal counsel that gets you the compensation you deserve.

Final Thoughts on Forest River RV Slide Out Problems

The Forest River slides are designed to give you the space you need while traveling. With a slide out room extended, there’s no lack of space for you and your loved ones. On the other hand, when slide out trouble occurs, the trip turns from enjoyable to a nightmare fast. There’s no reason to deal with unnecessary Forest River slide issues.

You can use our troubleshooting guide to repair the RV slide on your own. Some of the problems are simple enough to resolve. However, if you are unable to repair the slide, you must seek help from a professional. You don’t want to do anything that could lead to further RV slide out damage.

7 Most Common Jayco Slide Out Problems

Jayco slide out problems can be a major headache for RV owners, and it’s essential to find effective solutions to these issues. We understand the frustration that comes with malfunctioning slide outs, and we’re here to help. Our comprehensive guide provides an in-depth look at the most common Jayco slide out problems and the best strategies to fix them. Whether you’re dealing with issues related to the slide mechanism, wiring, or water damage, we’ve got you covered. Additionally, we’ll provide you with important information about lemon laws and compensation that can help you navigate these problems with confidence. If you’re ready to get back on the road and enjoy your travels to the fullest, we’re here to guide you every step of the way.

Frustrated with your malfunctioning Jayco RV? Our experienced RV lemon law attorneys help you get the lemon law compensation you deserve. Contact us for a free consultation today! ¿Hablas Español? Contáctenos ahora para recibir más información.

What are the Most Common Jayco Slide Out Problems?

The Jayco RV slide outs are meant to offer more space and convenience while traveling. Yet, they also become a source of headaches when malfunctions occur. Among the common problems, owners are talking about hydraulic leaks, a lack of lubrication, power failures and burnt-out motors. All of these are challenging to diagnose and repair, possibly requiring a professional RV technician for more help.

Let’s jump right into the top Jayco complaints. Not only do we show you what can go wrong, but we also offer some practical insight to fix the most slides.

1. Foreign Objects

Foreign Objects

The mechanical slide needs to be clear of debris to come in and out. Sadly, its location leaves it prone to debris and dirt buildup. Anything that gets into the rail system can prevent the slide from operating.

Take a closer look at the rail system to see if anything is stuck. If it is, remove it and attempt to operate the slide again.

2. Hydraulic Leak

Hydraulic Leak

The Jayco slide out runs on a hydraulic system that requires fluid. It’s the same fluid that runs the automatic leveling system. This fluid starts to leak every now and then, leaving you without what’s needed to run the slide.

If you are filling the hydraulic fluid, but it keeps getting low, you need to find the leak. Start by tracing the hydraulic lines from the pump to the slide. Once you find the fluid dripping, you know where you need to replace lines.

Don’t forget to fill up the hydraulic fluid reservoir once the leak is fixed.

3. Lack of Lubrication

Lack of Lubrication

There must be lubrication for the Jayco slide to move in and out smoothly. Many Jayco owners complain about how little lubrication there is, leading to problems with the mechanical function.

In some cases, you may be able to spray WD-40 on the sticking spots. This should be enough to keep the moving parts operating as intended. Whatever you do, don’t force the RV slide or it could lead to damage on the rails. You don’t even want to know what it costs to fix a large slide.

4. Bad Slideout Switch

Bad Slideout Switch

To operate the slideout, you have to push a switch. If this switch stops working, you won’t be able to put the slide out or bring it in. If this is the problem, the pump and motor won’t run at all.

If your Jayco has a few RV slide outs, you can try one of the other switches to see what happens. If all of the switches fail, the problem could be a larger electrical concern. Otherwise, just replace the broken switch and see if that works.

5. Malfunctioning Electrical System

Malfunctioning Electrical System

Every part of the slide out system is running through wiring and connectors. If there’s a problem with the connections or the electrical supply, the slide outs may not work.

Here are some simple steps to diagnose the RV power:

  1. Plug your Jayco into a shore power supply. If you can’t get plugged in, turn on the generator, so there’s enough power running to the RV. If you have any power issues, these need to be dealt with first.
  2. Find the fuse box and start examining the fuses. If there’s a blown fuse, replace it.
  3. Inspect the breakers. If any have flipped, reset them.

It’s also important to look at the health of the battery. Turn your multimeter on and see if the battery supplies 12 volts. If not, you may need to charge it or get a new battery.

If these steps don’t result in any diagnosis, you may want to consult an RV professional.

6. Broken Electric Motor

Broken Electric Motor

Once you’ve checked all the switches and inspected the power, you need to look at the motor to the slide out room. Read the manual to find the location of the slide motors. Start by looking at the connection and wiring to the motor. If any of it needs to be replaced, do it now.

The multimeter can also be used to check on the voltage output. The readout depends on what motor you run, so compare the readings to the service manual. If the motor is getting power, but it doesn’t put the slide out, it could have failed. Replace it now.

7. Failed Hydraulic Pump

Failed Hydraulic Pump

Earlier, we discussed how the Jayco RV slides run on hydraulics. A pump is what helps put it in and out. It’s the same hydraulic pump that operates the leveling legs.

To see if there’s something wrong with the hydraulic pump, follow these steps:

  1. Find the pump. Its location is listed in the RV owner’s manual.
  2. Carefully check the voltage going to the pump.

If you are getting enough voltage, but the pump isn’t working, it needs to be replaced.

How Do I Reset My Jayco Slideout?

Take a peek in the service manual to see the procedure for resetting a Jayco slide out. You can search online if there’s not enough information in the manual. Just be sure to search with the Jayco model to get accurate information for your RV.

A reset includes the motor and slide controllers. Once these are reset, everything should operate in harmony again.

How Do You Manually Retract Jayco RV Slideouts?

You can bring the slide back in manually if it gets stuck out. These are the same steps that would be used to extend a slide manually, except in the opposite direction. We recommend reading the owner’s manual for more information before you start.

Here are some other tips that might help.

  1. Locate the slide motor. It should be below the slide out room when it’s fully extended.
  2. Unscrew the brake assembly from the motor.
  3. Attach an extension to the crank handle. If it doesn’t have a crank handle, you can use a wrench or a socket and ratchet.
  4. Operate the extension by hand. You only need to supply enough force to work the crank.
  5. Continue until the slide is fully retracted.

After it is secure, attach the brake assembly back to the motor. This step ensures that the slide stays in place and doesn’t move around while driving.

How Do I Reset My RV Slide Out Controller?

Every RV slide out controller has a different reset procedure. For this reason, it’s best to look at the service manual, where the steps will be outlined.

You can also perform a search online for the steps. In your search, include the brand name and model of the slide controller for detailed instructions.

Why Won’t My Slide Go Out?

In some cases, the problem is a trapped object in the rail system. You can clear these easily. Otherwise, there could be something wrong with the hydraulic system, either a leak or a failing pump.

Mechanical issues can also be to blame. Check the power source, switches, electrical connections and the motor. Replace anything that is broken and the slide should start working again.

If you need further guidance, it’s best to take the Jayco to a qualified RV repair center.

Jayco RV Lemon Law

How do you know if you have a Lemon RV? There are lemon laws for RVs, just as there are for cars. If your recreational vehicle fits all of these factors, it’s possible you have a lemon.

  1. The Jayco still has a factory warranty.
  2. There’s a problem or multiple problems that prevent it from operating correctly. This problem needs to affect either the safety or value of the RV.
  3. The Jayco dealer has been unable to fix the problem, even after repeated attempts. You are not satisfied with the resolution.

If your Jayco RV fits these criteria, it’s time to get lemon law help. We want to provide you with the legal counsel needed to get compensated for your trouble.

Final Thoughts on Jayco RV Slide Outs

Your Jayco slide outs are meant to provide more space in your recreational vehicle. Once it is extended, you have room to spread out and enjoy yourself. Yet, when there are slide out problems, the space instantly becomes unbearable. You don’t want to deal with these Jayco problems and we don’t blame you.

Attempt to repair the Jayco slide so you can get back to having a good time again. If the problem can’t be repaired, it’s time to take action. Look into the RV lemon laws and contact our team for more assistance.

How Much Oil Does My Car Need?

Maintaining the proper oil level in your car is extremely important for engine health. But with so many different car models and engines, how can you know exactly how much oil your car needs? The answer is that the amount of oil varies and can’t be determined by others. In this article, we’ll answer the question, “How much oil does my car need?” We’ll also talk about why having the right oil level is important. Too much or too little oil can result in costly and permanent engine damage. So, before neglecting this essential car maintenance task, remember that an oil change is cheap and avoiding it can have harmful consequences.

If you’ve purchased or leased a defective car with engine problems, we can help you receive compensation at no cost to you. Contact Cali Lemon Lawyers today!

How Do I Know How Much Oil I Need for My Car?

There are multiple ways to determine how much motor oil is needed. Here are a few recommendations.

Check the Car’s Owner’s Manual

The owner’s manual of your vehicle has detailed specifications, including the oil and fluid capacities.

Additionally, the car’s service manual has information about the motor oil capacity and instructions on changing it. You won’t be given this manual when you purchase a car. It’s a separate purchase that can be a little pricey but offers invaluable information.

Check the Dipstick

If you pull out the dipstick, you’ll see how much oil is in the system right now. You want the dipstick level to be at the FULL mark.

You can slowly add some oil until it gets to the mark. You’ll need a different amount of oil depending on how low it is.

Factors Affecting the Amount of Motor Oil Needed

Factors Affecting the Amount of Motor Oil Needed

Every car requires a different amount of oil, which we’ve briefly touched on earlier. But what makes the amount of oil required different? Here are a few of the most common factors.

Age and Model of Car

If you are driving a pickup truck, your vehicle will probably need more oil than a compact coupe. This is probably the most significant factor affecting how much oil is used.

Age can also play a role in how much oil is needed. Older cars can go through more oil than a newer model with advanced technology.

Driving Conditions

How you drive won’t change the overall capacity of oil, but it affects how often it needs to be topped off. If you are driving short distances, the oil is going to require more frequent changes.

Longer highway drives help keep the oil in better condition. Additionally, the oil will break down faster if you tow or haul heavy loads.

Type of Oil Needed

Type of Oil Needed

While this won’t necessarily affect how much oil you need, it’s still important to know. There are multiple types of oil, each with a different longevity. Here are the main types of oil:

  • Conventional oil: needs to be changed more frequently, as often as 3,000 miles
  • Synthetic blend oil: a mixture of synthetic and conventional
  • Synthetic oil: go longer between oil changes, usually up to 15,000 miles
  • High-mileage oil: includes special additives to extend engine life

Most cars benefit from using synthetic oils versus conventional oils. Not only do they offer more protection to the engine parts, but it doesn’t need to be changed as often.

Vehicle’s Engine Size

The size of the engine plays a big part in how much oil it holds. Most cars hold four to eight quarts of oil. Here’s an approximation.

  • Four-cylinder engine: 4-5 quarts
  • Six-cylinder engine: 5-6 quarts
  • Eight-cylinder engine: 5-8 quarts

Signs That Your Car May Not Have Enough Oil or Need an Oil Change

How do you know when your engine needs more oil? There are some tell-tale symptoms to watch for.

Oil Pressure Warning Light

Oil Pressure Warning Light

Most cars have an oil pressure sensor that tells when the fluid or pressure is low. At the first sign of this light, you want to check the oil level.

You may simply need to add more oil. Otherwise, you might want to perform an oil and filter change if it appears dirty or contaminated.

Clunking Sound

When the oil runs low, the engine no longer gets the lubrication it needs. Without oil running through all of the passageways, you may start to hear a clunking. It’s also possible to hear grinding or knocking.

Allowing your vehicle to run with low oil is a recipe for disaster. The rods can break, causing extensive damage.

Burning Oil Smell

Burning Oil Smell

If you smell oil burning, it could indicate a leak. With a leak dripping oil on the hot engine components, it’s going to smell like burning.

When the engine is leaking, there’s less oil in the system. If you let it go, the oil could become dangerously low.

Decreased Fuel Efficiency

The engine only runs efficiently when it has the right amount of oil in it. Otherwise, the engine is going to struggle to operate.

With the engine oil low, efficiency diminishes. The harder the motor has to work, the more you will notice problems at the gas pump.

Overheating

We discussed the need for lubrication earlier when we talked about strange noises. However, the lack of lubrication also causes trouble with temperature control.

As parts rub together, friction and heat rise. Left unchecked, the engine can start to overheat when the oil gets too low.

Can I Trust the Oil Life Indicator?

Can I Trust the Oil Life Indicator?

The oil life monitor doesn’t actually measure the health of the oil. Instead, figure it as an estimator instead. This system isn’t looking at the physical properties of the oil but is using the data provided to determine when the oil may need to be changed.

This system only uses an algorithm to determine when it might be time to change the oil and oil filter. Still, you should check the oil when it comes on to figure out if an oil change would be required.

How to Add Oil to Your Car

You don’t have to be a mechanic to put oil in the car. Here are some basic steps to follow.

  1. Gather your supplies. You need the correct oil viscosity, as determined by the manufacturer and a funnel. It’s also helpful to have shop rags on hand.
  2. Park your vehicle on level ground.
  3. Turn off the engine and wait for ten minutes until all of the oil drains.
  4. Open the hood and locate the dipstick. It’s near the engine and usually has a bright handle.
  5. Pull out the dipstick and wipe it on a rag.
  6. Place the dipstick back into the tube.
  7. Read the level, so you know how much oil to add.
  8. There’s no reason to add more oil if it’s between the MIN and MAX lines.
  9. If oil is needed, place your funnel in the appropriate opening in the engine.
  10. Add oil by putting in a quarter of the quart at a time. Give it time to drain into the pan and recheck it.
  11. Continue adding in small intervals until there’s enough oil.

If you perform an oil change, dispose of the old oil properly. Most auto parts stores will take used oil.

Conclusion

It’s vitally important that your car has the right amount of oil in it. Check the oil levels often and fill them up when needed. You can protect the vehicle from catastrophic failure by taking just a few minutes to check the oil and consult the owner’s manual for other maintenance guidance.

Skip to content